This month, our very own team member Maxwell Yanof is sharing his secret to bread making with Bozeman in a series of classes at Owenhouse Ace Hardware. If you miss the classes, we have you covered! You can still make the perfect loaf with his bread recipe below.
While baking bread at home may seem like a daunting task, this overnight bread recipe will make you look like an artisan baker. But, be warned, you’ll never want to settle for store-bought again after you taste homemade bread, baked in your kitchen, with an extra touch of love.
Add herbs, dried fruit, olives, cheese, or olives to take this basic overnight white bread recipe up a notch in flavor.
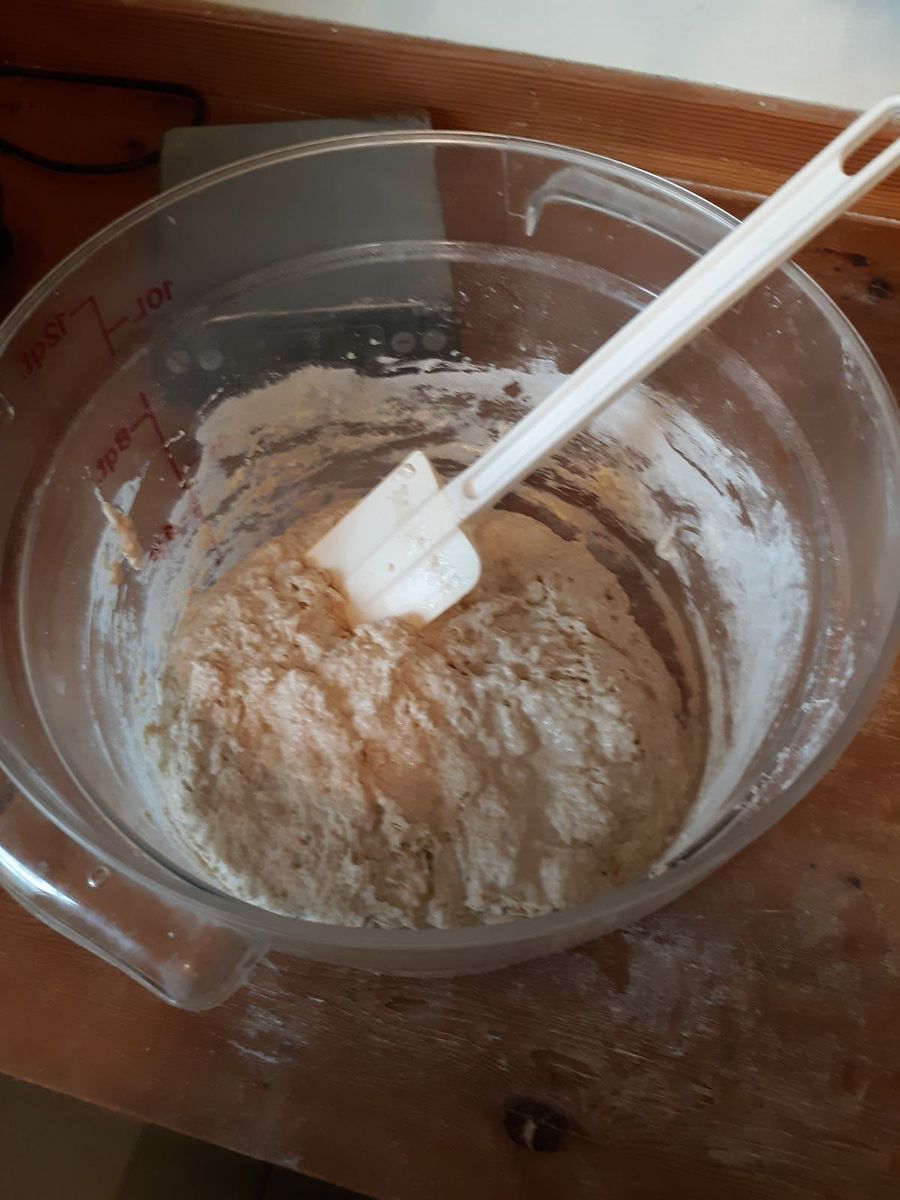
Mix the flour and water together until fully incorporated and no lumps of dry flour remain. Then let it rest for 20-30 minutes with the lid on the container. This step is called the autolyse. This important step allows the water to be fully absorbed thereby increasing gluten structure.


After the autolyse step, add the salt and yeast and mix thoroughly until all the salt and yeast is incorporated. Salt enhances flavor, slows yeast production, and strengthens gluten.
Once that is done, lift and fold the dough onto itself making a fold during each 1⁄4 turn of the vessel. Make 4 folds for each full rotation of the dough. Perform this fold sequence 2-3 times over the next hour. When completed, let dough rest at room temperature for 8-12 hours with the lid on. This step is called the “bulk ferment” and is the most important step in terms of developing flavor and structure.
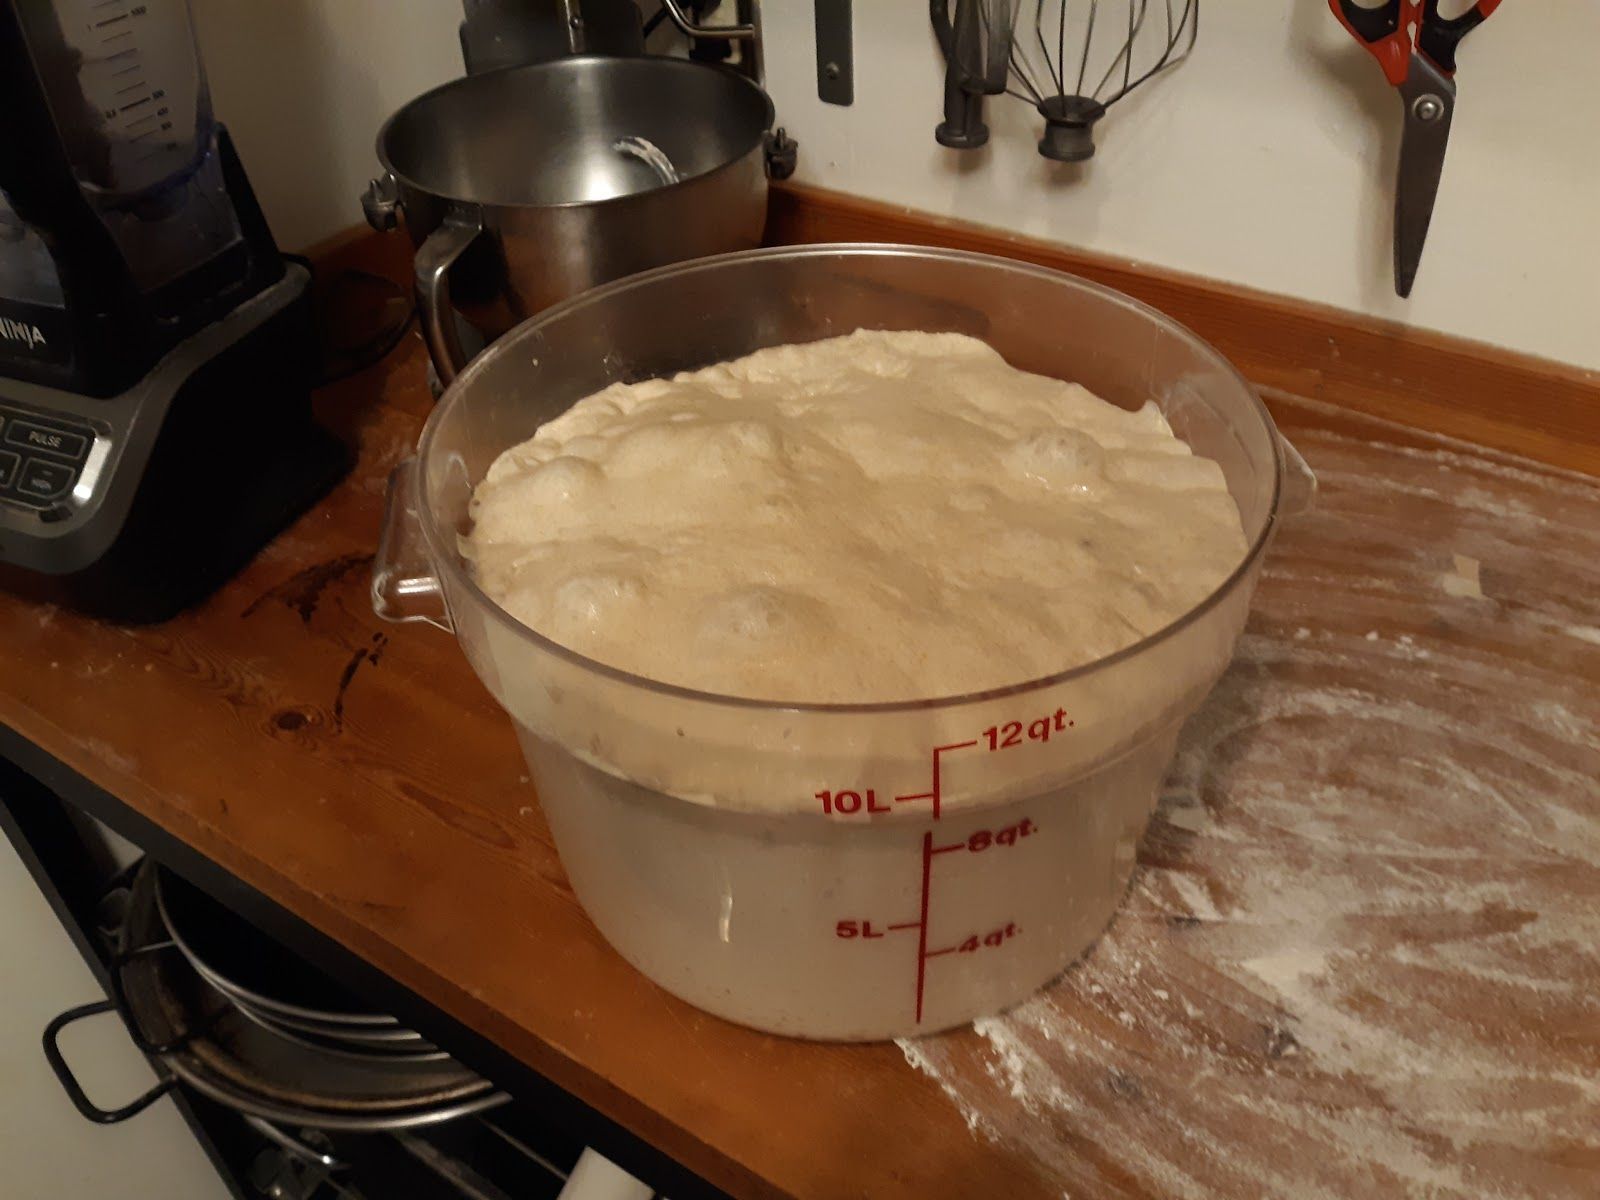
During the bulk fermentation the dough will rise 1.5 to 2 times its original size. Don’t be alarmed if your dough doesn’t rise as much as pictured – this is a 4-loaf recipe, double the recipe provided below.
After the 8-12 hours of bulk ferment, turn out the dough gently onto a lightly floured surface to avoid sticking. Once turned out, dust lightly and cover with plastic or linen and let rest for 20 minutes. This is called the “bench rest,” and is another important step that improves gluten development.
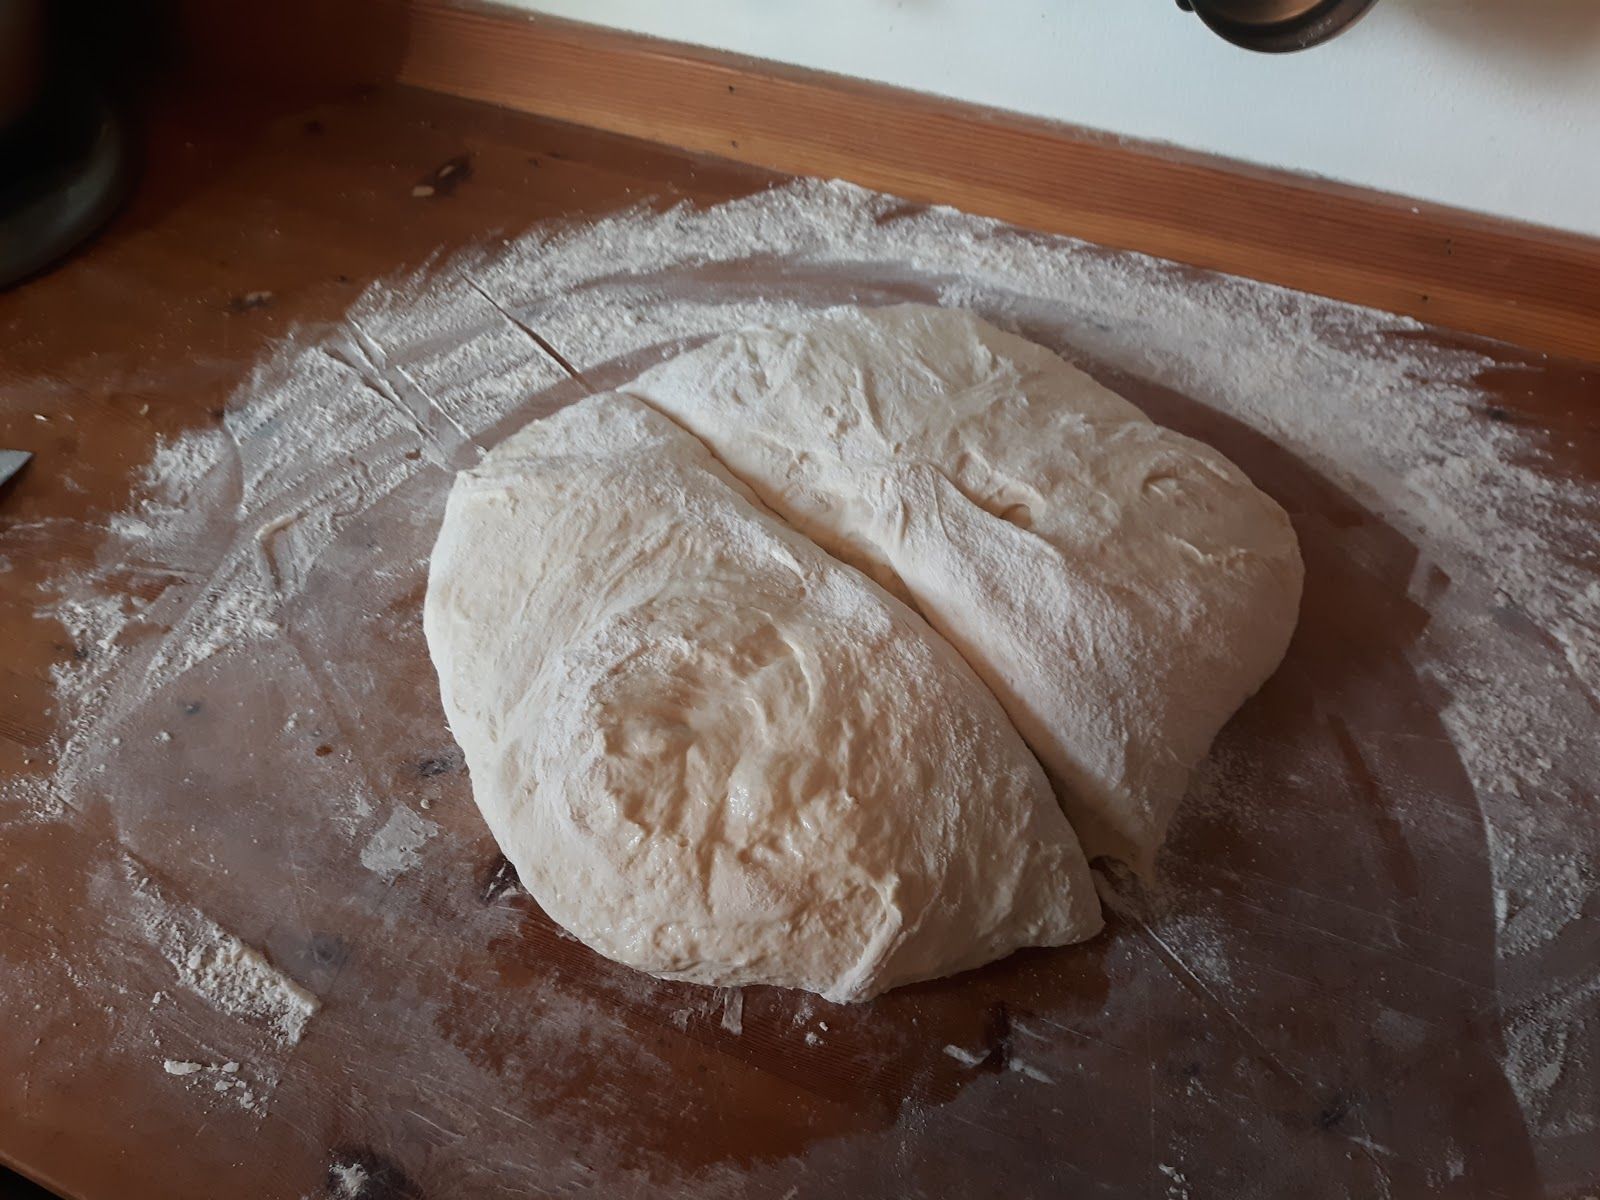
After the bench rest, divide the dough into 2 roughly equal portions. Do this by lightly dusting the area of dough you want to cut and cut though the dough with a dough knife, regular knife, or even a sheet-rock knife (my preference in stainless steel).
Try not to over-dust with flour at this point in the process. Over-use of flour will change the hydration percentage of the recipe, but more important, it will make your bread taste like flour and camouflage all the layers of flavor developed during the lengthy bulk fermentation.
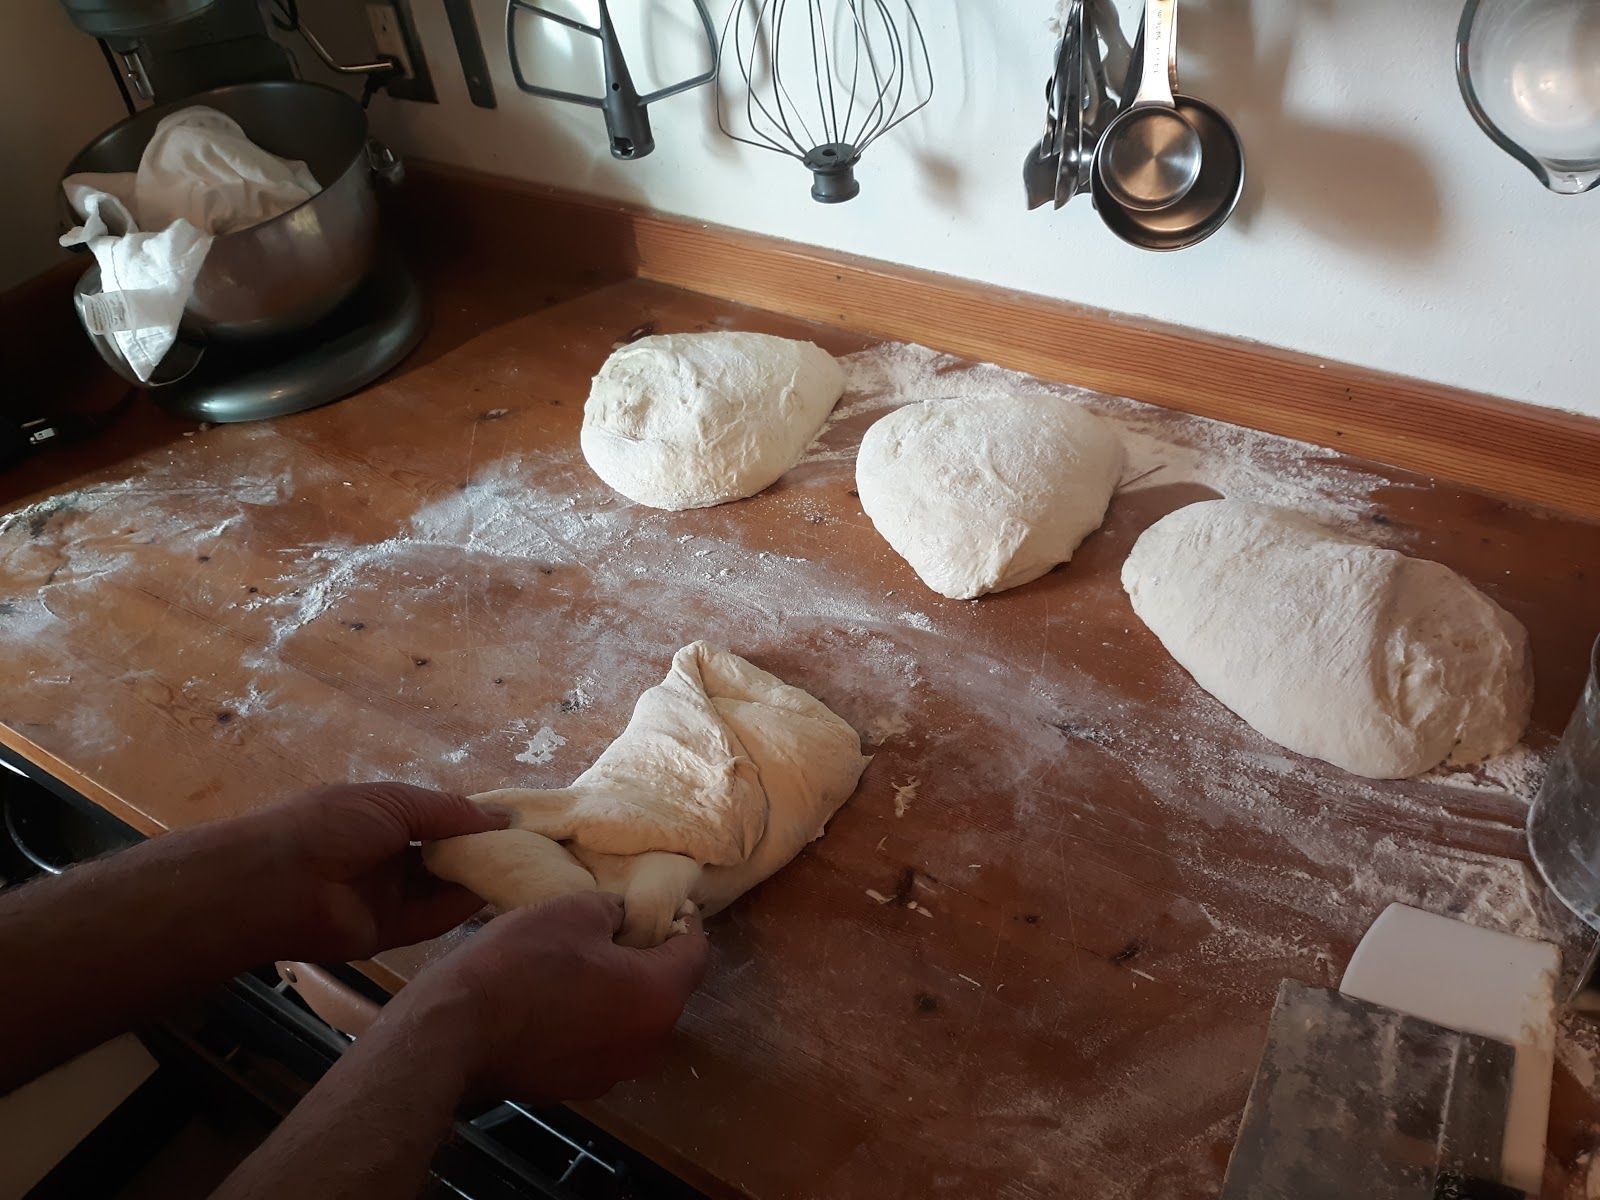
Once divided, shape the dough into boules, or rounds. Build internal tension in the loaves by folding and stretching as pictured. Building tension in the loaves by this process ensures good “oven spring,” one of the secrets to obtaining professional-looking artisan bread.

However, tensioning the outer layer of the boule is important, too. Build tension in the boules’ surface by drawing the round towards you as pictured with the dough knife/scraper and using the friction of the work surface to build tension. Do this several times rotating the round a 1⁄4 turn each time. Once the surface is tight, you are finished.
Pro Tip: too much flour on the work surface during tensioning will work against you because the underside of the dough will not grip the work surface making the tensioning step near-impossible.
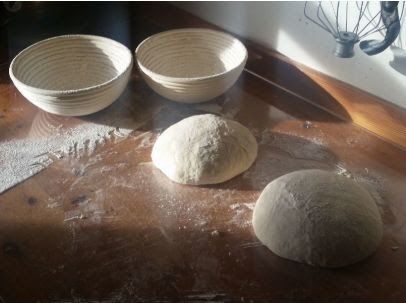
Once loaves are shaped, dust lightly and place into lightly floured bannetons, or shaping baskets. Any vessel will work for this step in the process but you may need to take steps to make sure the dough will not stick to the vessel, such as lining it with floured linen or tightly woven cotton cloth.

Once the dough is in placed in the vessel, cover with linen or place into a food-safe plastic bag and let your dough rest at room temperature in the basket for 2-4 hours. This step is called “proofing.”
Alternatively, put the dough in the refrigerator overnight allowing more layers of flavor to develop, largely related to enzymatic action. This sub-step is often referred to as a “cold ferment” and, in addition, improves caramelization of the crust, a rich gold/brown darkening of the crust French bakers call “bien cuit” meaning well-baked.
Pro tip: How do you know if the dough is proofed correctly? Poke the dough 1⁄2-3/4” deep with your index finger. Indentation will spring back ~75% when adequately proofed; if less, overproofed; if more, not quite proofed enough.
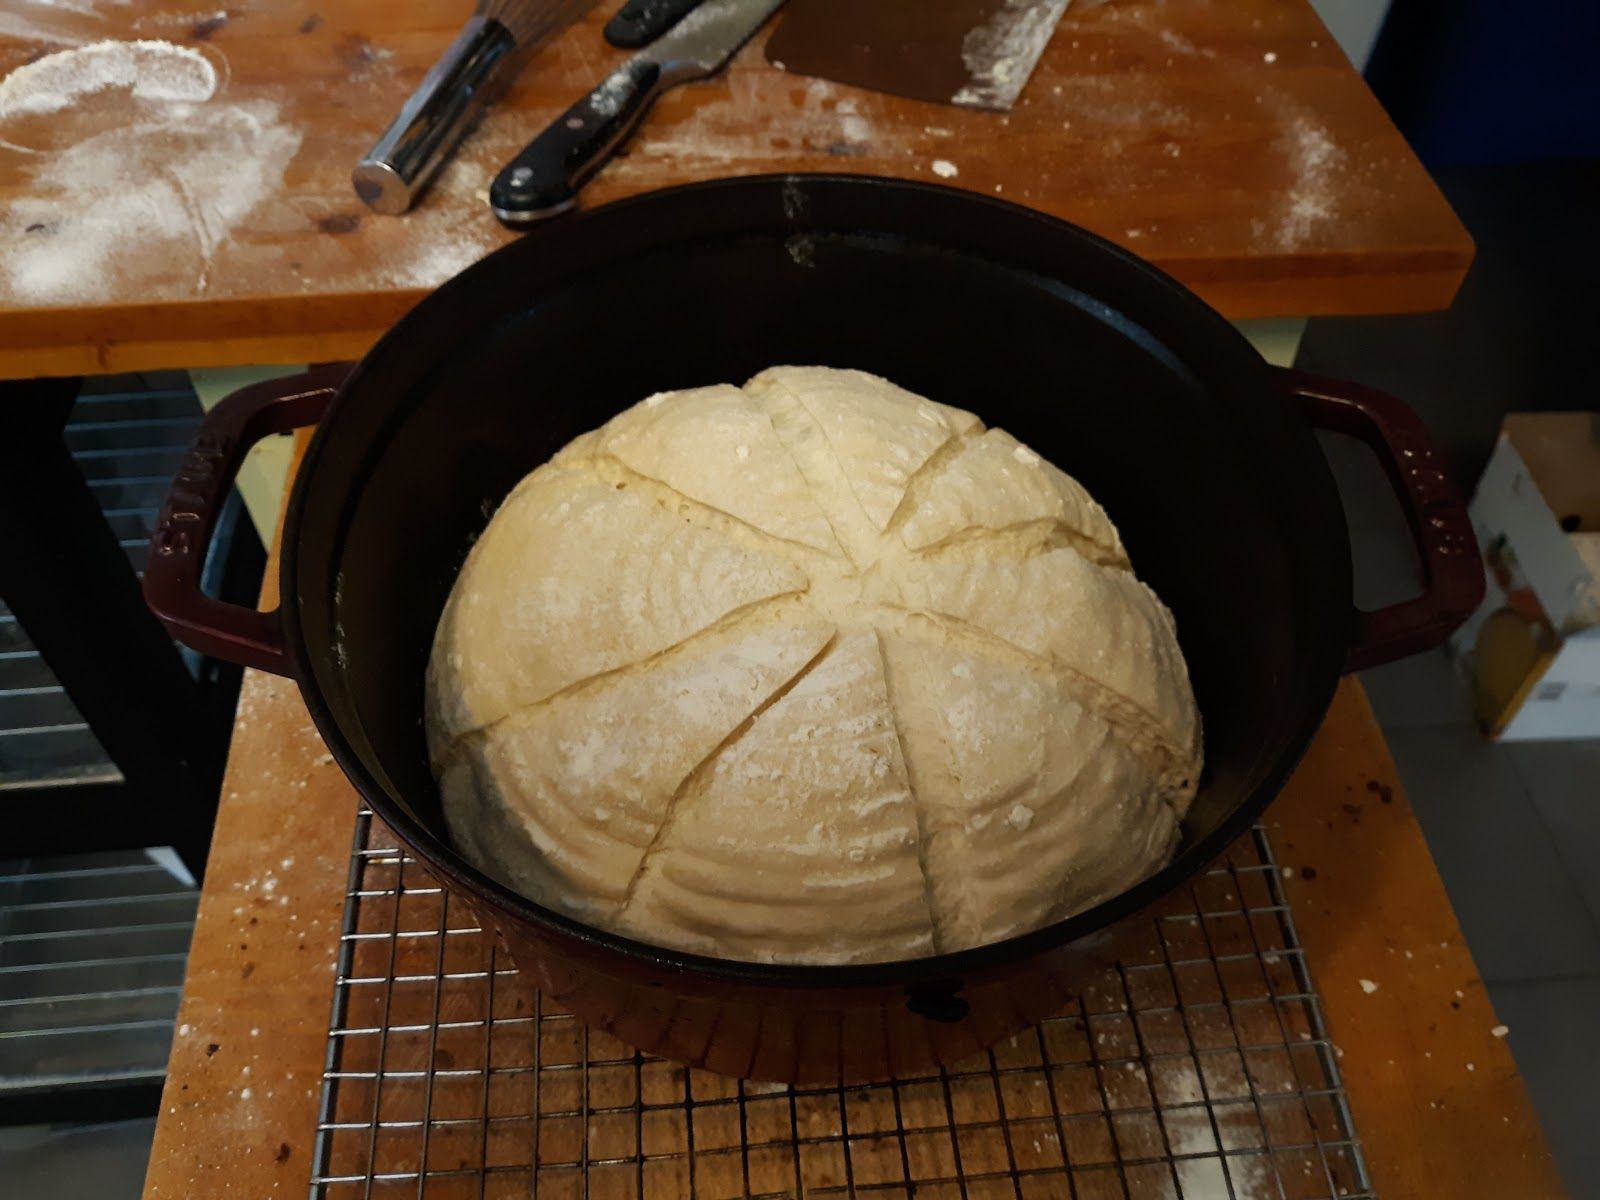
About the time you start your final rise (proofing), place your Dutch oven and lid in a cold oven and pre-heat to 500 degrees. This should take approximately 45-60 minutes.
After approximately 1 hour proofing, turn bannetons over and release the dough. The proofed dough ought to feel light, airy, and a little fragile. Score with a sharp knife or razor blade and place in a Dutch oven to bake for 30 minutes at 475 degrees with the lid on.
You can score the dough on the work-surface, or in the dutch oven. However, scoring on the work-surface allows for deeper and more creative scoring. In either instance, be careful not to burn your wrists on the Dutch oven rim. Remember, it just came out of a 500 degree oven!

After 30 minutes remove the lid and bake for another 8-12 minutes. Baking without the lid deepens the color of the crust and adds another layer of flavor. Experiment during this step and discover how dark or how light you like your crust: the lighter the crust, the more sweet-like; the darker the crust, the more bitter, or char-like (my preference).
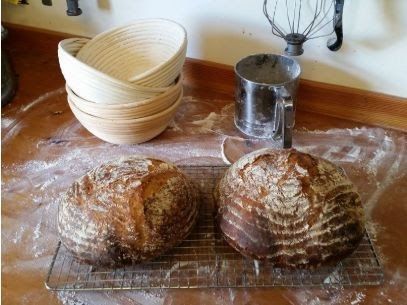
Voila! Your artisan bread is ready and cooling on a cooling rack.
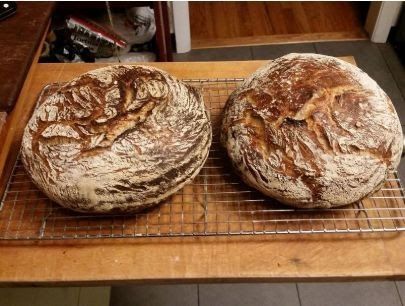
Once the bread has cooled for an hour, it’s ready! Of course, you can cut into your bread immediately, but waiting for an hour or so will make it easier to slice, and will give time for flavors to develop. Try to taste your creations initially without any olive oil or butter. Doing so will improve your bread palate making you more aware of the differing flavors when baking with different flours or using a variety of proofing and baking methods.

Enjoy the great taste of homemade artisan bread!
For the first day or two, store your bread cut-side down covered with a dry linen or flour sack towel. This will prolong the crust’s crispness. After two days, toss the loaf in a plastic bag for storage and use it for toasted creations. When stale, tear into small pieces, toss with salt, pepper, and olive oil and bake into seasoned croutons for salads or pulse into breadcrumbs. When fresh, dip in unfiltered Italian olive oil, sprinkle with kosher salt, and pair with pinot noir, Burgundy, or any nebbiolo-based red wine.
Buon appetito!
Ingredients
- 7-1/4 cups all-purpose flour (900 grams)
- 3/4 cups whole wheat flour (100 grams)
- 2-3/4 cups + 3 tablespoons water (700 grams)
- 1 tablespoon + 2-1/2 teaspoon salt (25 grams)
- 1 teaspoon instant yeast (5 grams)
Directions
- Mix the white flour and wheat flour together
- Add the water
- Mix by hand until fully incorporated (or mix for 2 minutes using a stand mixer)
- Let rest for 20 minutes (autolyse)
- Add the salt and yeast and mix by hand, folding and pinching the dough until all the salt and yeast are incorporated and there are no lumps
- In the next hour or so, do a full turning and folding of the dough 2-3 times
- Let rest in a warm place (68-72° F) for 8-12 hours
- Turn the dough out onto a clean, smooth work surface and divide into 2 rounds (boules)
- Shape loosely and let rest for 20-30 minutes (benching)
- Shape your dough into tight-surfaced rounds and place in a bowl or proofing basket
- Let rise for about 1 hour or until your dough passes the finger-dent test
- About the time you start your final rise (proofing), place your Dutch oven in a cold oven and pre-heat to 500° F
- After 45-60 minutes, remove the Dutch oven, place your dough inside, replace the lid, and place back into the oven (be careful not to burn yourself!)
- Bake for 30 minutes at 475° F
- Remove the lid and bake for another 8-12 minutes, until the top turns a deep rich mahogany color
- Remove and place bread on a cooling rack
- If possible, let rest for an hour or so before slicing
That’s it! We’d love to hear your baking story. Share it with us on Facebook or post a comment below.


