Whether you’re an avid gardener looking to preserve this season’s harvest or want to store your favorite farmer’s market finds and enjoy them throughout the year, you might be interested in learning how to start canning food at home. With the right food canning supplies and a bit of patience, anyone can learn the basics of canning for food preservation and start canning food in jars from the comfort of their home kitchen.
Whether you’re brand new to canning or have been canning food for years, you can get all the food canning technology and supplies you need at Owenhouse Ace Hardware in Bozeman, Montana. And if you have questions about canning or want to learn more, the local experts at Owenhouse are always happy to offer recommendations and advice.
If you’ve decided to start preserving foods at home and aren’t sure where to start, this guide will help you learn all the basics of canning and help you get started in no time!
The Benefits of Canning Food at Home
Canning food preserves it so you can safely store it at room temperature. During canning, high-temperature water or steam destroys the contaminants that lead fresh food to spoil and forces air from the canning jars, creating an airtight vacuum seal that blocks new contaminants from reaching the food.
After an initial investment in the proper food canning supplies, canning provides an economical and safe method for preserving food that can cut down on your annual grocery bill. Not only does canning allow you to keep food that might otherwise spoil, but it can also halve the amount you would otherwise spend on canned groceries throughout the year.
Canning has a handful of health benefits, too. For example, some vegetables begin to lose vitamins soon as they are harvested. Unless they are preserved or cooled, they can lose half their vitamins within days of harvesting. Even refrigerated produce will lose at least half of their vitamins after 1-2 weeks of refrigeration. When preserved promptly and properly, canned foods retain much of their remaining nutritional value and can be healthier months after harvest than the fresh produce available at the grocery store.
Canning Terms To Know
Lid
Flat metal canning lids are secured with a metal screw band during the canning process. A gasket compound on the bottom of the lid softens and slightly expands when canning jars are processed. As the jars cool, the gasket forms an airtight seal.
Band
Metal screw bands secure canning lids during the canning process. However, leaving bands on stored jars is not recommended. After use, they may be removed, washed, dried, and used again. However, those left on jars can become difficult to remove and may rust or fail to work correctly in the future.
Headspace
Headspace refers to the unfilled space between your canned food and the top of the jar. This unfilled space allows food to expand while the jars are processing and is necessary to form a vacuum seal in cooling jars properly.
Water Bath
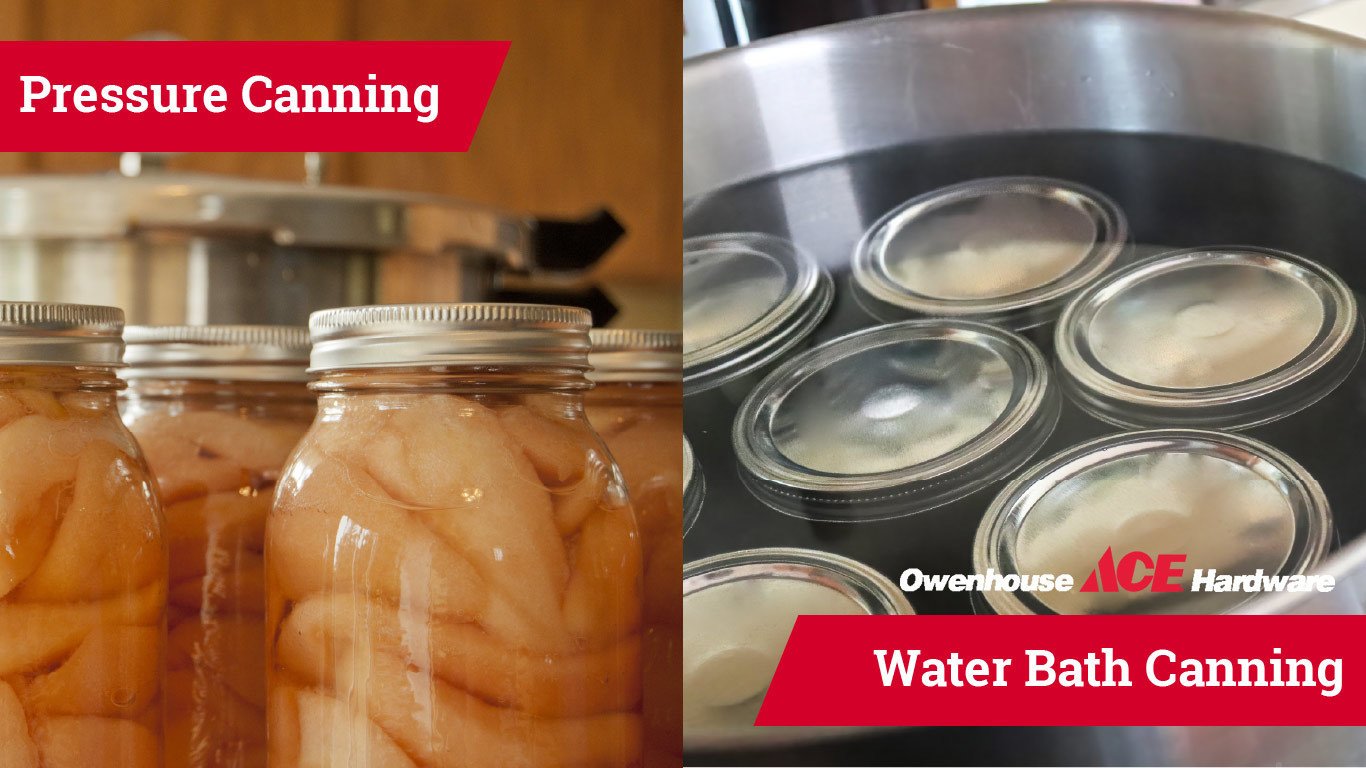
Water bath canning is the more straightforward and least expensive of canning methods and is appropriate only for preserving high-acid foods. In water bath canning, canned foods are submerged in hot water, which drives the air out of the food tissues and jar, creating a vacuum that seals the lid.
Pressure Canning
Pressure canners look like large stock pots with a locking lid at the top and a dial or gauge outside for steam regulation. Pressurized steam achieves temperatures much higher than boiling water, which is necessary for preserving low-acid foods. New canning enthusiasts must understand it is not merely a recommendation to can low-acid foods with the pressure canning method—it is an imperative. Boiling water cannot achieve high enough temperatures to kill botulism spores, which can be fatal if ingested.
Finger-Tight
Canning recipes often include instructions such as “fasten the bands until just finger-tight.” “Finger-tight” means you should use the gentle force from your fingers instead of the greater strength of your arm muscles. Bands should be snug enough to hold the lid in place but not so tight they’re difficult to remove once the jars have cooled.
Processing time
Processing time refers to the time your jars will need to process to destroy microorganisms and adequately seal. It’s important to closely follow the directions in your canning recipe and ensure you’re using the proper type and size of jar for the indicated processing time.
At altitudes above 1,000 feet, water boils at lower temperatures than it does at lower altitudes. Therefore, those living at altitudes above 1,000 feet will need to adjust their processing time to account for this difference. For water bath canning, you will need to add processing time to preserve your food safely; you will need to increase the pressure for pressure canning.
Canning Tools You Will Need
You may have many of the food canning supplies you need in your kitchen already. If you’re planning to preserve high-acid foods using the water bath method and have a large enough pot, you may not need to invest in much more than some jars, lids, and screw bands. Over time, you’ll probably wish to invest in a few canning tools to make the process go more smoothly.
These may include:
- A water-bath canner or pressure canner
- A jar lifter
- Ladles of varying sizes
- Funnels of varying sizes
- A variety of canning jars, lids, and screw bands in different sizes
- A food mill or strainer
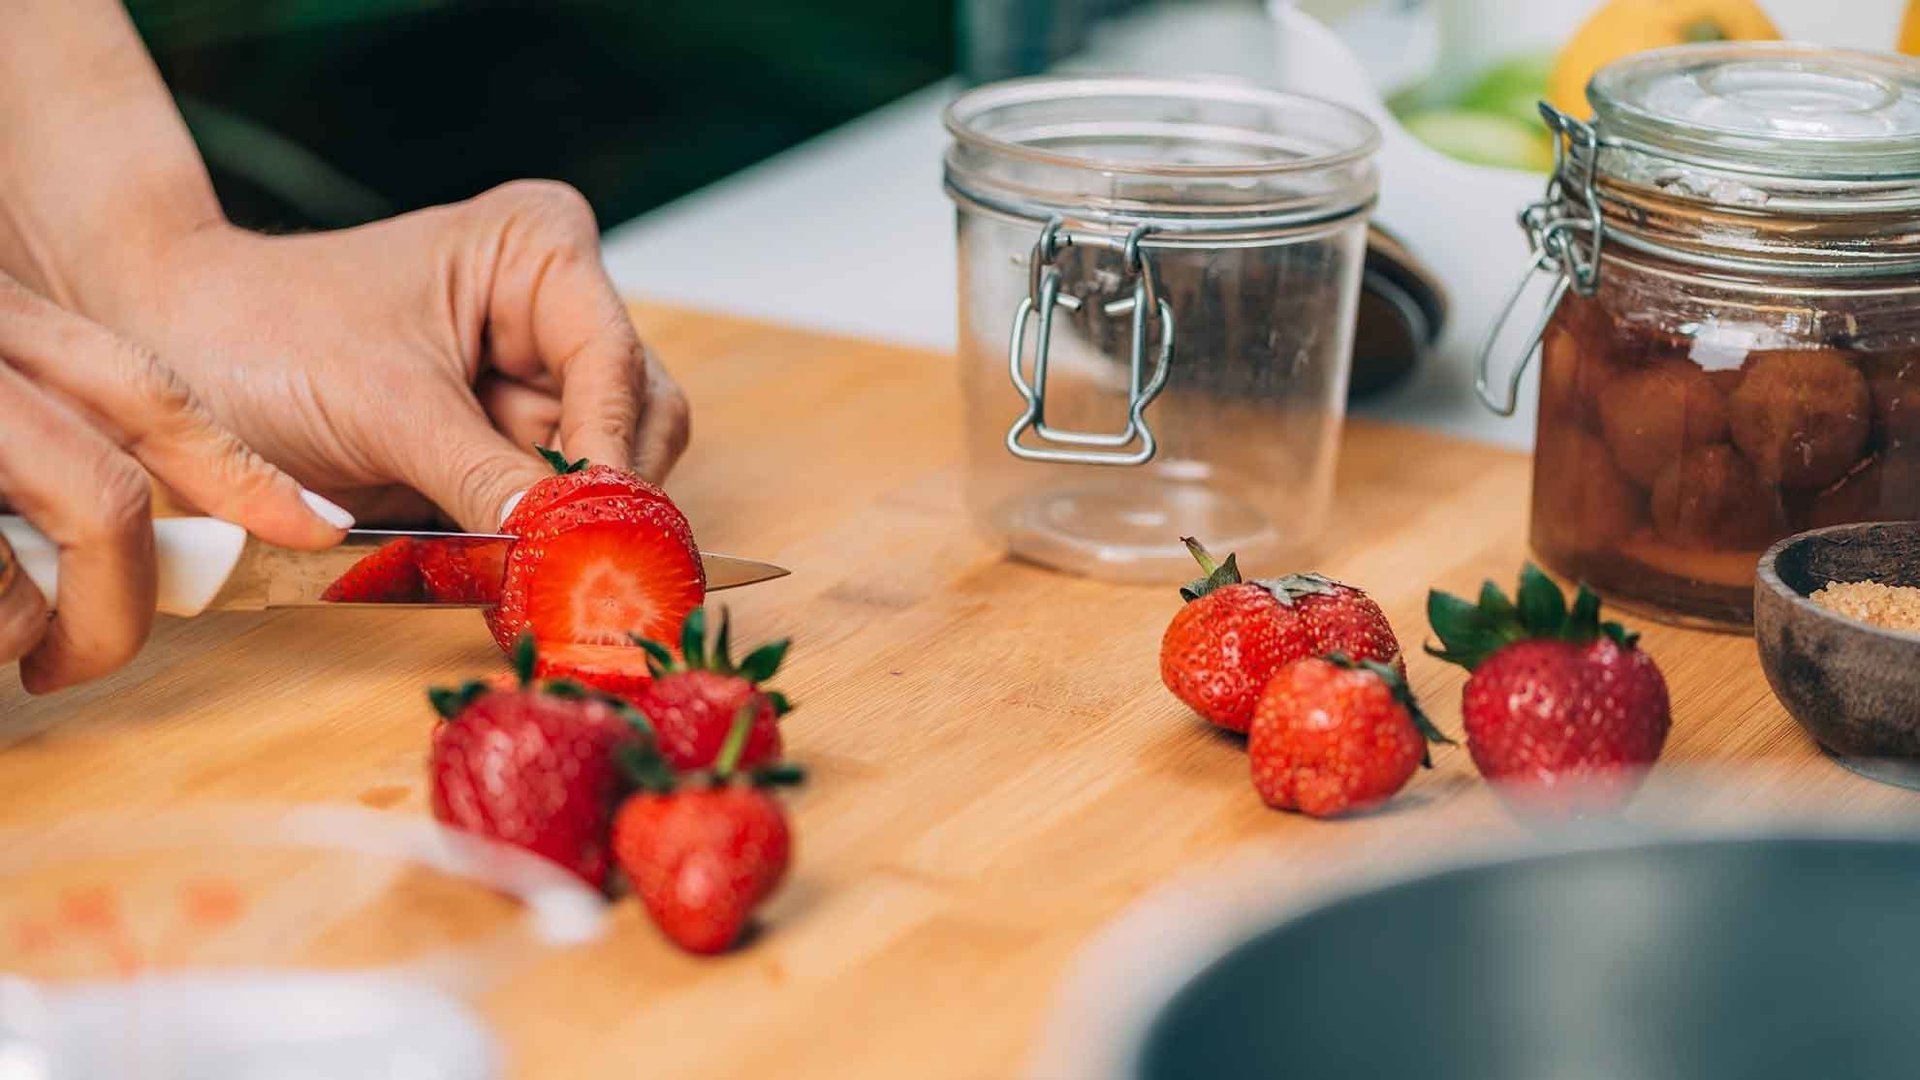
- A set of good quality knives to prep food for canning
- A few trusted canning recipe books
Ball Jars
Ball jar canning supplies include a variety of jars designed and sized to meet the particular needs of home food preservers. Ball produces straight and tapered jars appropriate for canning or freezing, jars with shouldered sides for shelf storage, and a selection of regular and wide-mouth styles.
Pur Jars
Pur jar canning supplies are also popular among food canning enthusiasts. Pur jars come in regular and wide mouth varieties and a selection of sizes, along with metal rings and BPA-free lids that remain sealed for up to 18 months.
How to Start Canning:
Determine The Method Of Canning
If you wish to preserve meats, fish, poultry, vegetables, and other low acid foods, you’ll need to invest in a pressure canner. Pressure canning is somewhat more complicated than water bath canning, requiring specialized food canning technology. However, it is the only safe and recommended method for preserving foods with a pH greater than 4.6. Pressure canners come with instructions that may differ between brands and models, so you should always follow the manufacturer’s instructions when using the pressure canning method.
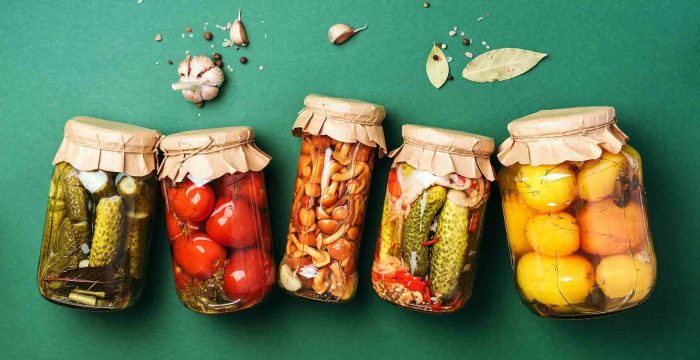
Water bath canning is only appropriate for preserving high acid foods, such as jellies, pickled vegetables, and preserves. Foods with a pH higher than 4.6 cannot be safely preserved using the water bath method. The following steps lay out the general water bath canning process, though some canning recipes may require additional steps.


Prepare Your Jars
Before you begin canning, you need to wash and sterilize your jars and lids. First, wash your jars and lids in the dishwasher or by hand with hot, soapy water, then allow them to air dry. Next, sterilize your jars and lids by immersing them in a pot of boiling water for at least ten minutes.
Depending on your recipe, you may need to keep the jars submerged, so they stay warm until filled.
Prepare Your Canning Method
Before you begin, gather all the ingredients and equipment you’ll need. Much of the canning process is time and temperature-dependent, so you don’t want to have to stop for a last-minute trip to the store when you realize you are out of lids or don’t have enough sugar for your jam recipe. Check all your jars for cracks and chips each time you use them, and inspect your lids and bands before you begin, as well—faults in the canning equipment could cause your jars not to seal and lead to spoiled food.
Prepare The Food To Be Canned According To The Recipe
Some canning recipes are passed down for generations, so you may be looking forward to making your great-grandmother’s peach compote or your favorite uncle’s pickled beets. Before you prepare that favorite family, though, it’s a good idea to ensure it follows modern canning safety guidelines.
Once you know the recipe you’re following is safe, you must follow it to the letter to ensure your family’s safety. While baking and cooking often allow for a bit of improvisation, preserving does not.

Fill Jars With Prepared Food
Once you’ve prepared the food according to your recipe, you can ladle it directly into your prepared jars or use a canning funnel. Next, add any covering liquid needed, making sure to leave the appropriate amount of headspace. Then, insert a flat plastic spatula between the jar and the food and slowly turn the jar while raising the spatula up and down to remove air bubbles. If necessary, adjust the food levels again to achieve the appropriate headspace, then carefully clean the jar rim using a damp cloth.
Process Your Jars
Atop each jar, place a canning lid and ring. Adjust the rings until they are finger-tight, then carefully lower the closed jars into your water bath canner or a large pot of simmering water. If necessary, add more water until the water level is one inch above the tops of the jars before covering the pot and returning it to a boil. The processing time will depend on the type of food, the size of the jar, and other variables, so you should always be sure to adhere to the processing time stated in your recipe.
Let The Cans Rest On The Counter And Test For Proper Sealing
When your jars finish processing, carefully remove them and place them on a wooden or towel-lined surface where they won’t be disturbed for 12-24 hours. Do not retighten the bands, even if they seem looser after processing. The food inside the jar will contract as the jar cools, creating the vacuum seal necessary for safe food storage.
After 12 to 24 hours, when the jars are thoroughly cooled, remove the rings and test the lids for proper sealing. Sealed lids will be firmly attached at the edges and concave in the center. If you press down on the center with your finger, a properly sealed jar should not move. If a jar isn’t sealed, you should refrigerate and eat or dispose of its contents within one week.
Start Canning at Home! Find What You Need to Get Started at Owenhouse Ace in Bozeman, MT!
Are you ready to start canning food at home? Head to Owenhouse Ace Hardware in Bozeman, Montana, to pick up all the canning supplies you need and get some expert advice while you’re here. Your friendly neighborhood experts are always happy to help you find what you need and answer any questions you might have along the way.


